I don’t know about you, but as an Artist, I can never leave well enough alone. If I discover an awesome find in a store, I’m never satisfied. There’s always something I think I can do to make it look better—to add a little pizzazz. So, that’s pretty much what happened when I bought these picture frames.
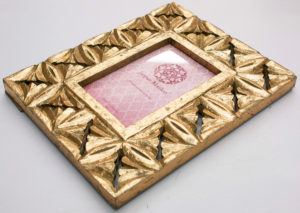
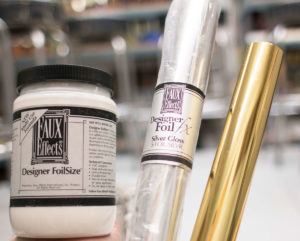
I love the designs, I even love the colors, but there was something missing. The silver one was just too silver. And the gold one, was well, too gold. So the first thing I thought of was Designer FoilFX™. I really like using them instead of gold leaf because 1) the foils are nowhere near as messy as leafing so I don’t end up with an atomic bomb of gold flakes that inevitably find their way into every orifice of my face, 2) they are not as delicate to handle like gold leaf and 3) because I get a lot more use out of them. They come in big rolls that go on for days so I practically have an endless supply. But, what’s even more awesome then everything I just mentioned is they come in many different colors and can even be used on wall finishes, so the possibilities really are limitless.
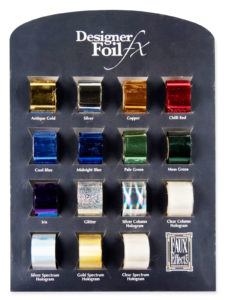
I decided to add some gold to the silver one and vice-versa. I’ll start with the silver frame. I used Antique Gold Designer FoilFX™ for this one.
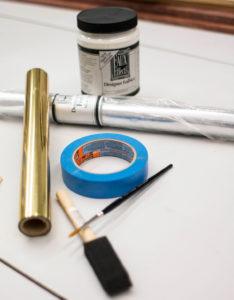
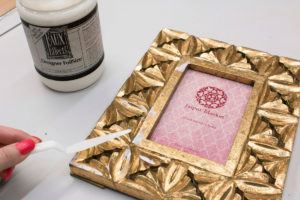
To begin, I taped the inside of the frame to protect the edges. Then I lightly sanded the surface to prepare it for proper adhesion.
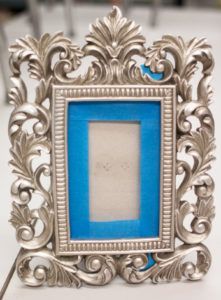
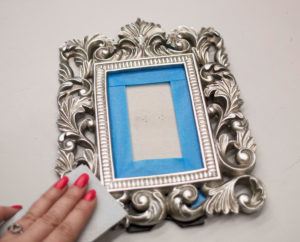
To use foils, there is still a two part process to this just like using gold leaf. You still need to apply size, which is essentially the glue that the foil or leaf sticks to. I used Designer FoilSize along with the foils. If you really wanted to use gold leaf instead, you could still apply it with this Designer FoilSize so you get multiple uses out of this size.
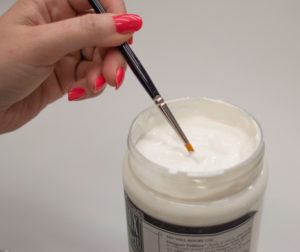
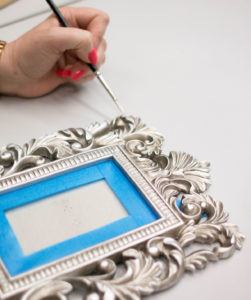
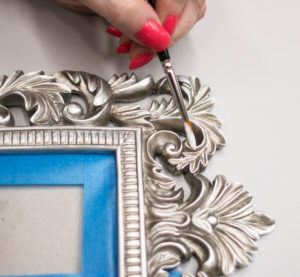
I used a small artist brush to give me more control over where I put the size. Wherever the size goes, the foil will follow so if you accidentally get it on an area you don’t want the foil on, just use a cloth or rag to wipe it clean. It’s very sticky since it’s a glue so if you need, you can dab the cloth in a little alcohol to help remove it. I just tipped the edges of the frame—I didn’t want allover coverage, just embellishments of the gold. Once applied, I let it dry about 30 minutes. You’ll know it’s ready for foil when it goes from milky white to clear. It will still be tacky to the touch. Now the fun part!
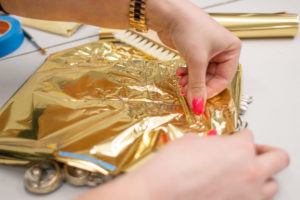
I took a piece of foil about the size of a sheet of paper. I placed it over the frame with the shiny side UP (it won’t work if you do it the other way, the portion that transfers onto the surface is dull and not-so-attractive) and used a sturdy bristle brush (this here was a wallpaper brush) to really work it over the surface to ensure it sticks to the size. Then I remove the foil to reveal what I got. Then I continued over the all the areas I placed my size.
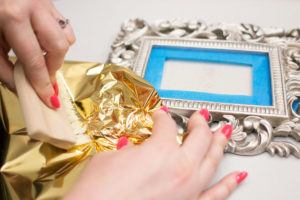
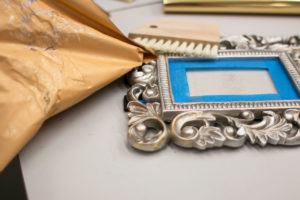
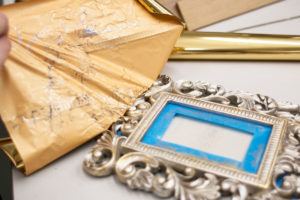
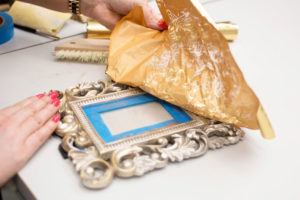
I even used a MacTac Tool to help get the foil to stick. We sell these by the way. Awesome little things. (These can also be used as a more gentle applicator for modellos) And in my opinion, you can never have enough tools in your toolbox or paint on your shelf!
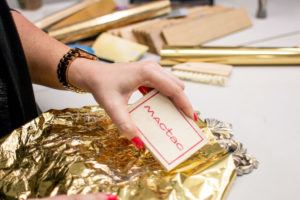
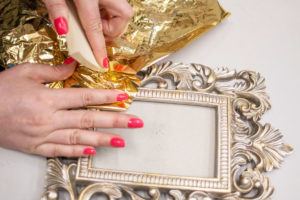
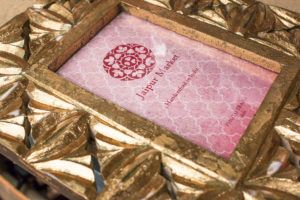
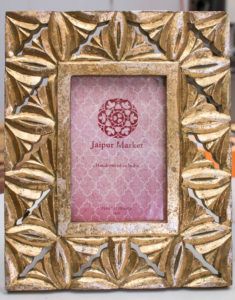
Here’s the finished product!
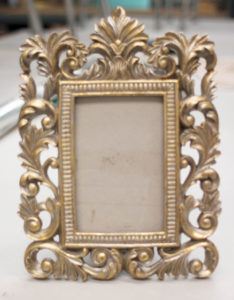
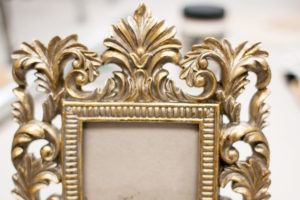
Here’s a close-up.
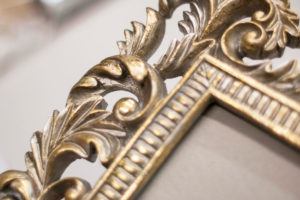
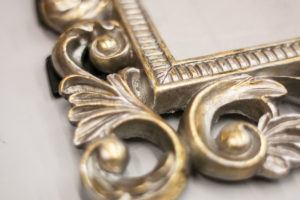
Now on to the next one. I did the same process but this time I used a palette knife to apply the size and I used a different foil.
You can see where some of the size is dry and where it’s thicker, it’s still milky. Just a couple more minutes.
Here it is completed! Another no-mess project. For a painter, I really dig those. Till the next time my fellow creative Compadres (that’s ‘friends’ in spanish…I bet you always wanted to know. No need to thank me, that little lesson is on the house). Let’s see what other wacky ideas I can think of. They’re swirling around in my cabeza somewhere! (See what I did there?) 🙂

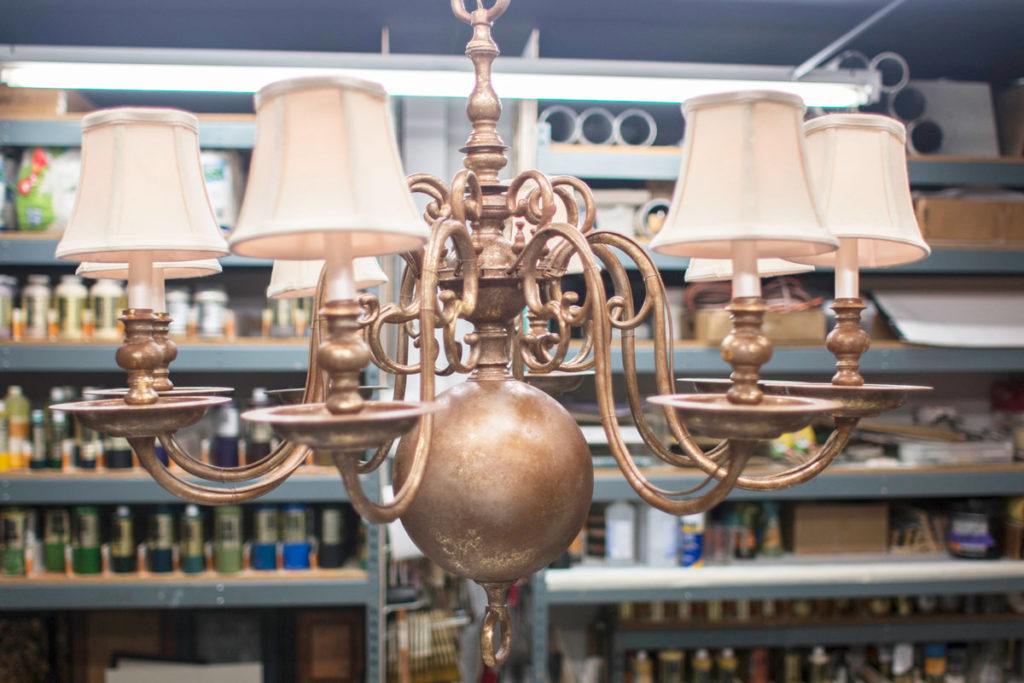
Beautiful result with the foil application . Do you think you can write on it and transfer marks into an art project with a pen and foil?
Thanks