
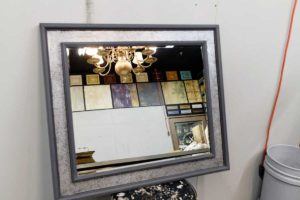
This mirror came to us in need of a style makeover
Inspired By Metals
I’ve been stuck on this hammered zinc finish for a while. I love metals…metallics and all things shiny. Silvery-gray is still such a great color that goes with so many color schemes and design styles. I thought it would be fun to do a similar finish as an accent to this mirror frame and make it feel hip and new. Check out my inspiration with these images of metallic furniture on Custom Made
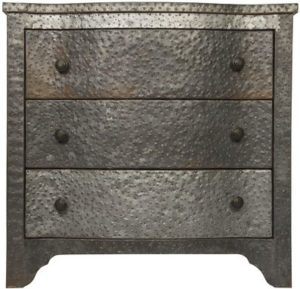
After thinking about several ways to revamp this mirror, we decided to use this inspiration. The first step of course was taping it up, to prepare it for paint. Now we clean and sand, then clean again. Krud Kutter is still my fave.
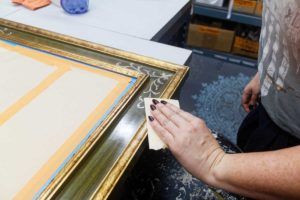
After a good cleaning, sanding and wiping down with isopropyl alcohol to help remove and debris or dirt, I’m ready for the first coat of paint. Just like always, I start with SetCoat. I like to use a Taklon artist brush for these small projects. The bristles are extremely soft and helps to minimize brush strokes.
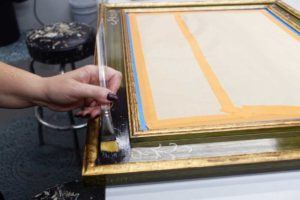
After painting the entire frame and letting it dry sufficiently (overnight is best), I taped out the center so I can add some cool texture.
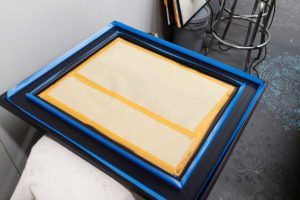
Simple Yet Realistic
I wanted to make this simple yet as realistic as possible. So, I went to one of my favorites—Master Finishing Medium. This product is so versatile, I use it in many applications. It is extremely durable, so I never worry about working on areas that may get some heavy use.
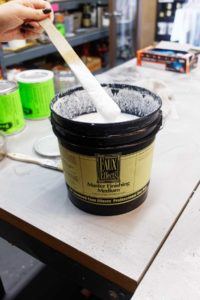
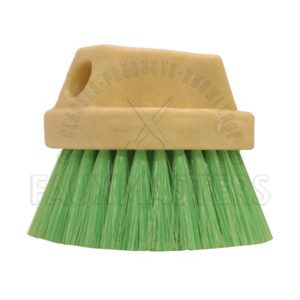
I’m using a combination of a chip brush and a Neon Leon.
Ok….disclaimer. I’m slightly cheating because I’m using a discontinued item. But don’t worry, we have TONS of gently used ones from our classes that we are selling at a discount. We don’t really advertise this, but if you want one, just call us and tell us you want the “straight Neon Leon” and we’ll know what you mean ; ) (888.977.FAUX)
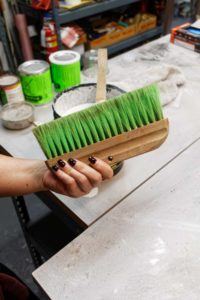
I apply the Master Finishing Medium with a chip brush, now I’m ready to stipple the surface with the Neon Leon tool.
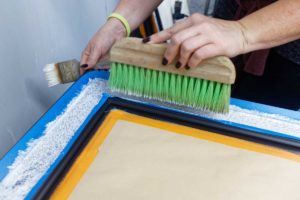
Then I’m just going to continue this until the entire frame is covered.
Now that it’s dry, I’ll sand down the high peaks of the texture to create irregular pits and a more uniform feel.
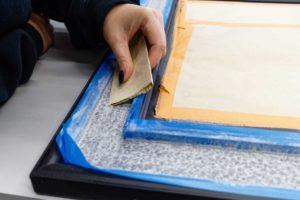
It’s gonna look something like this.
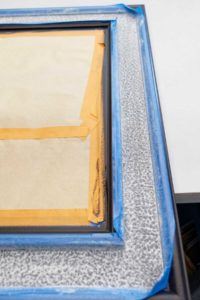
Next, I’m stippling on MetalGlow in a light color like Rich Silver or Silver Lining.
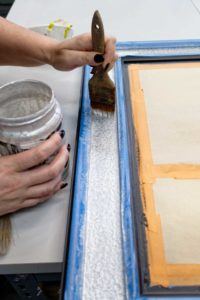
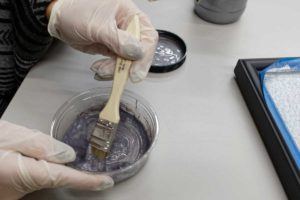
Let that dry, then we do another MetalGlow color—Urban Steel. This time I’m thinning it down with alcohol. There’s a reason for the mini science experiment. After I get the right consistency, I’ll just use a chip brush to apply in a working section. When I initially put this on the surface, it wasn’t thin enough, so I just added a little more alcohol. I need it very fluid on the surface.
Why? Because I’m also going to spritz the surface with the alcohol to create an uneven layer so it will naturally create depth of color with the two colors of silver.
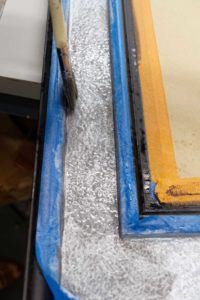
The reason I use alcohol instead of water is the alcohol actually helps the paint maintain its structure even when it’s so thin. It will also speed up drying. In my experience, water makes it too runny to control when you are trying to create these types of unorthodox layers. It’s totally a science thing. That’s really all I can say. I’m not a scientist, so I can’t expand further without sounding like a dweeb!
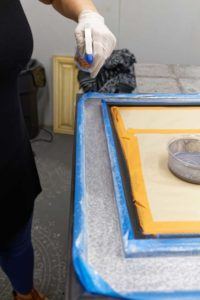
Then it dries. It still needs a glaze, but first I’ll cut away the tape since these steps so far have been so light in color, I need to see if I have any touch ups to do against the black frame.
Most likely if I do, the glazing step will fix that.
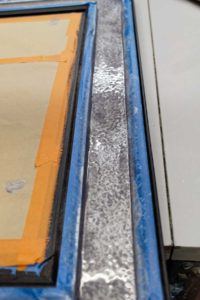
I’m just using a black glaze, Black FauxCrème Color and FauxCrème would be just fine. The more pigment, the deeper the color. This time I’m using a pointed glazing brush.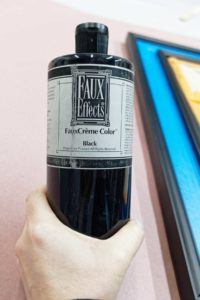
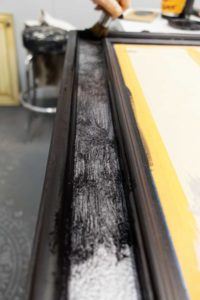
It looks heavy, but wait! Now I’m using lint free cheesecloth to wipe away the excess.
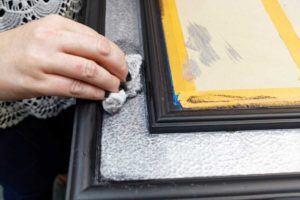
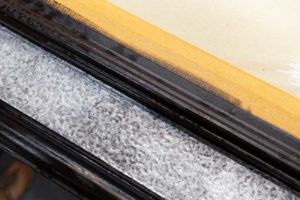
After that, if there’s any excess along the edges, I can simply stipple with a soft, nylon brush.
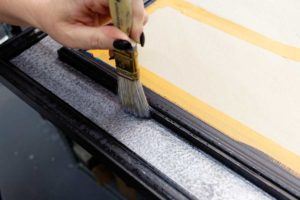
How fun is this?!
Once I finished with the soft, nylon brush, I let it dry. I could have easily taken the tape off and be done with it, but no. I can’t just leave it like this. I feel like it needs more.
Anybody else suffer from this compulsion or is it just me?
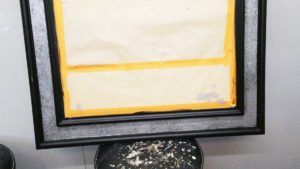
Since the base is just plain black, I’m gonna try something new. I’ve never done this exact technique before, so you’re learning right along with me. Here comes Old World Finishing Paint.
I so love this stuff. I’m using the darkest color—Coal.
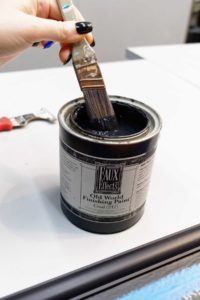
I just brush it on the frame, but I am trying to keep it clean, no sloppy strokes here. From corner to corner would be best.
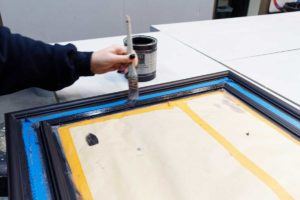
Now this layer dries. You see it doesn’t look much different…why on earth did I do that? You’ll see.
I had this idea…(usually where the beautiful madness comes from) What if I buff the Old World Finishing paint with lint free cheesecloth? What would happen? That’s exactly what I tried. I just followed the frame and rubbed with medium pressure.
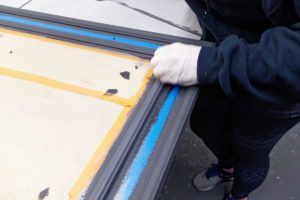
It lightened up dramatically! I suspect because this is a natural mineral-based paint, it created a chalky appearance. Now I’ll just cut away the tape to see the final finish.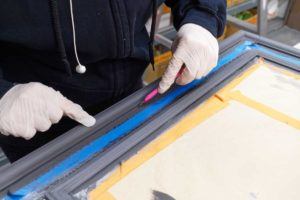
I like it! I didn’t want just plain ol’ black. Now there’s just a little more character and movement to this without being fussy or dramatic. And was simple to achieve!
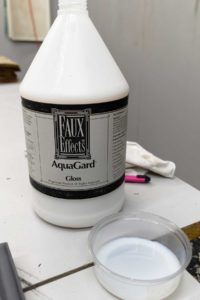
The last step is I want to add some shine to the inner metallic finish. I’m gonna use AquaGard Gloss. Going back to my taklon brush….
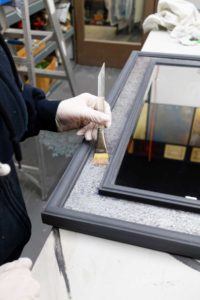
There you have it! Faux Effects products always offers the right solutions for any paint project. Whatcha think?



Inspiring! Thank you!