It’s Faux Beautiful!
We’re back with another project! The creating doesn’t quit around here! We recently did a super fun project, but I’m a little biased because they are all fun to me! We have this heirloom table that needs to be refinished. It was partially started when it came to us but it needed a little more prep work.

This gorgeous table needed some help getting it’s life back–and that’s where the help of Faux Effects® products come in. After prepping the surface by sanding, cleaning, and minimizing any unsightly texture, I created a custom mix of SetCoat™ for my base color. I used an HVLP (high volume, low pressure) spray gun to apply the paint and create a super smooth texture. If you don’t have a spray gun (I encourage you to get one!) you can brush it, however, I have found a helpful way to minimize brush lines when I have to brush. I thin my SetCoat™ with isopropyl alcohol about 10%-20%. I found that this helps to lay the paint thinner on the surface and essentially self-level. It does also help it to dry faster so try to refrain from over-brushing. Try it–you might like it. Ok, back to spraying. So, I sprayed two good coats of my SetCoat™ mix and sanded in between for any minor imperfections. As you can see the color is similar to a woody yellow, which is one of the colors of SetCoat™–how convenient!
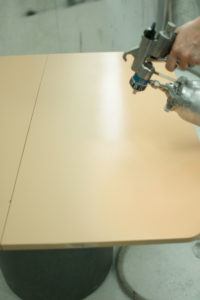
I have the table top and the top of the table base all sprayed, now I get to watch paint dry. Yeah, right. In the meantime, I’m gonna go paint something else.

Now, I’m on to my first glaze layer. When creating “faux” finishes, the idea is to look at your surface “from the ground up”. The idea is to build each layer upon the other to allow all the layers to visually work together to achieve your final finish. Each layer is important, as well as their transparency (or lack thereof). In this particular finish, all glaze layers will blend together to create the end result. I started by taping off one section of the table top so I could work without getting any excess glaze on the other side. Prep work is just as important as the finishing. I have found the times I don’t do the proper prep work in the beginning, I pay for it in the end with touch-ups and clean-ups. Time is money so do the prep work first! Your pocketbook will thank you!

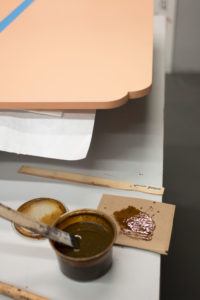
For the first glaze, I used Stain and Seal™ along with some isopropyl alcohol to thin it down. A LOT. The idea with this step is to create “watermarks”, but the actual process of watermarking is M-E-S-S-Y. It requires a ton of prep–just think splatter paint. Some of you might dig that so it’s worth exploring. Watermarking, if done right, will produce very subtle and beautiful movement in furniture finishes that will often leave admirers wondering, “How did they do that?”
This step of a “reverse watermarking” process I did on the table is a little more aggressive simply because I am creating a more vivid type of faux wood grain in this finish. I am trying to achieve a random, organic pattern of how this funky wood would grow in nature.


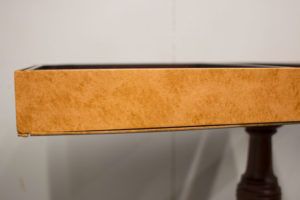
Here’s a shot of the before and after with the first glaze. As you can see with one glaze layer, there is quite a dramatic difference already. Faux wood-graining does not have to be complicated or have 20 layers to be beautiful!

First glaze layer on the table top completed: check.

On to the table base! Same process as above.
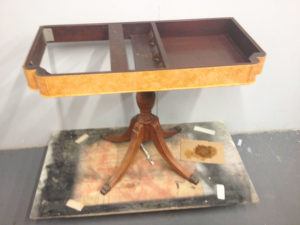
Now I’m starting the second glaze layer. This is where the real fun begins. This is also where the movement of this finish is created. I used Stain and Seal™ in a deeper color along with Faux Crème Clear™, applying with a pointed glazing brush (my BFF in the brush world) My goal is to create wild movement with my brush.
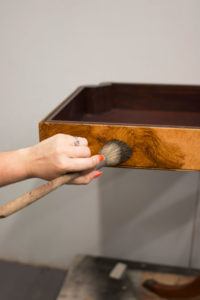
After applying the glaze in working sections, I used a badger brush (my other BFF in the brush world) to soften out the brush lines. This helps the finish to not look so choppy and refines the movement.
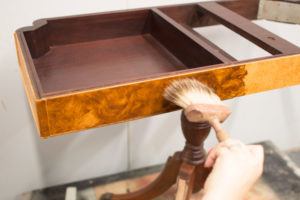
Done with this step on the base.
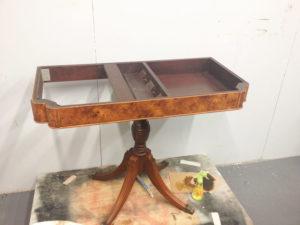
Now I’m starting on the table top. Same process, just a larger surface. The nice thing about this finish is you won’t really see any lap lines with where you start or stop, the blending of the badger brush helps greatly with this.
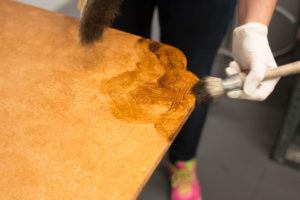
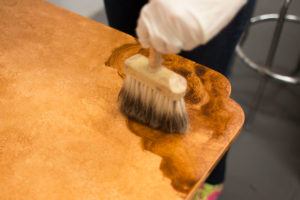
All done with the second glaze!
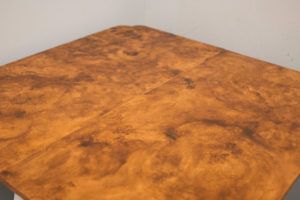
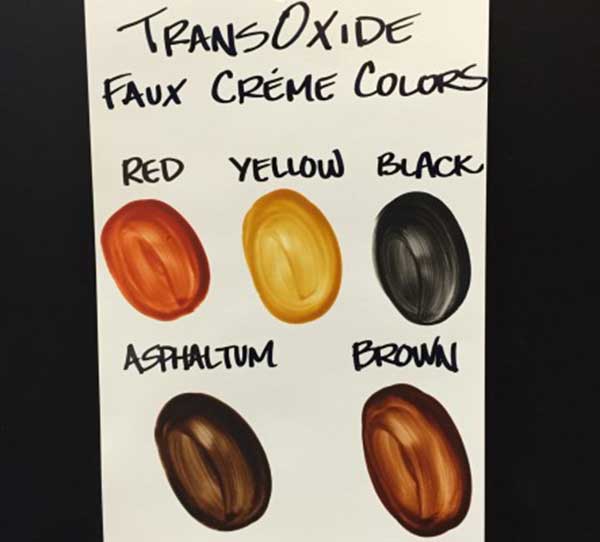
Now on to the final glaze. Yes, this finish is acheived in 3 glaze layers (not 20!). For this step, I created an overglaze or a toning glaze. I am not looking to create any more visual movement, just tone the finish to create more depth of color. Instead of Stain and Seal™, I used Faux Colors™ along with Faux Crème Clear™. In lieu of Faux Crème Clear™, you can use AquaCrème™, which is very velvety and easy to use to glaze furniture or cabinetry. Neither glaze medium is better than the other, it all comes down to personal preference. It’s worth trying both to see which one you favor. Faux Color™ is perfect for this type of finish because of the richness of their pigmentation. They are an ink/dye-like colorant which are perfect for wood-graining effects. With Faux Colors™ (mixed with a glazing medium), I am able to create a custom shade by blending multiple colors together. This is helpful when having to create custom colors for projects. You are not limited only to pre-tinted colors.
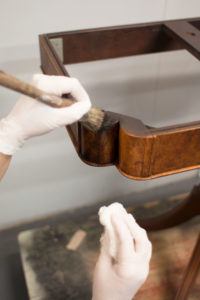
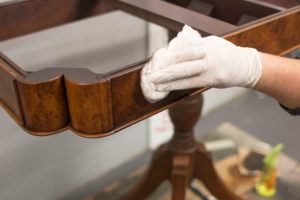
Here is the final finish next to the sample. Looks good!
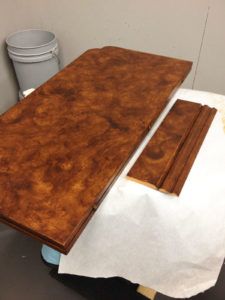
The final step is to topcoat the piece. This is the clear protective layer that keeps all the beauty (and hard work!) in tact and to be admired for years to come. There are many wonderful topcoats from Faux Effects®. All which are water-based and eco-friendly. Determine what room or area your finished project will end up. This will help to narrow down the best choice for a topcoat. If you are doing an exterior project, you will need a stronger, UV resistant topcoat that will be able to withstand the elements, such as AquaGard™ UV, As well as using products and colorants that will not fade over time. Since this table is going to live inside, I have a few more options to choose from. AquaThane™ is an excellent choice. So is VarnishPlus and C-500. Again, some of these products and their application will come down to a personal preference. A good way to find the best topcoat for yourself is to test them side by side. Apply each topcoat over a sample and let it dry. Then you can see visually, as well as by touch, if you like one over another. For this project, I chose a gloss finish to enhance the sheen and wow-factor. Satin is usually the most common sheen to choose.
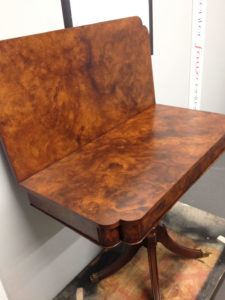
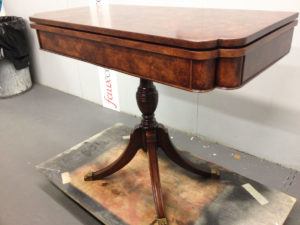
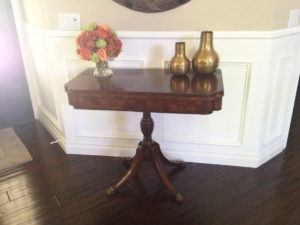
And it’s finally home!
If you are inspired to try this finish or any of the fine products featured, and need some pointers or guidance for any of your faux and decorative painting projects, remember we are here to help you! Even more, if you are interested in a private, one-on-one lesson to master these techniques, or any other technique or finish, check out our private lessons. We can teach you any finish or finishes of your choosing, to create a customized portfolio. You name it, we’ll teach it!
Call us, email us, or stop by our studio. Get inspired and go paint. From all of us here at Faux Masters, our passion is to help you discover your creative side. Let us show you how–we got you.
Ciao for now! 😉


