Crème Activator: Is It On Your Radar?

Layers Upon Layers of Color
Crème Activator™ is possibly a product that you haven’t heard of, nor experienced from Faux Effects®. This is one exceptional product that allows for a distressed, chippy-paint look with minimal effort. This product was designed as a barrier layer in between different paint colors that allows for the top layer to be easily removed to show the basecoat. We’ve all seen a piece of furniture or decor, somewhere, that has depth, beauty and character because of layer upon layer of paint, maybe revealing multiple colors. You probably may have wondered, how can I get this look without waiting for centuries to replicate it? Enter Crème Activator™.
Here’s the Process
How this stuff works is by creating “poor adhesion”, which in this case is a great thing for paint. By sandwiching this product in between two different SetCoat® colors, you can easily remove the top paint layer wherever the Crème Activator™ is. It really doesn’t matter the color combination you want—whether it’s a deep brown underneath, a soft cream, or in this project a bright, bold color over black. The idea is that you want to have different colors in your layers which will create dimension and the distressed, this-paint-is-ancient look.
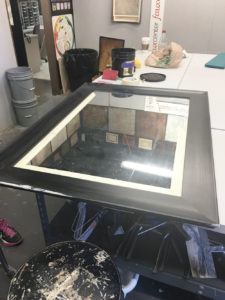
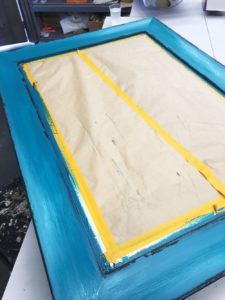
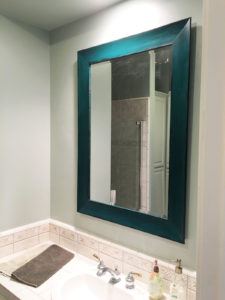
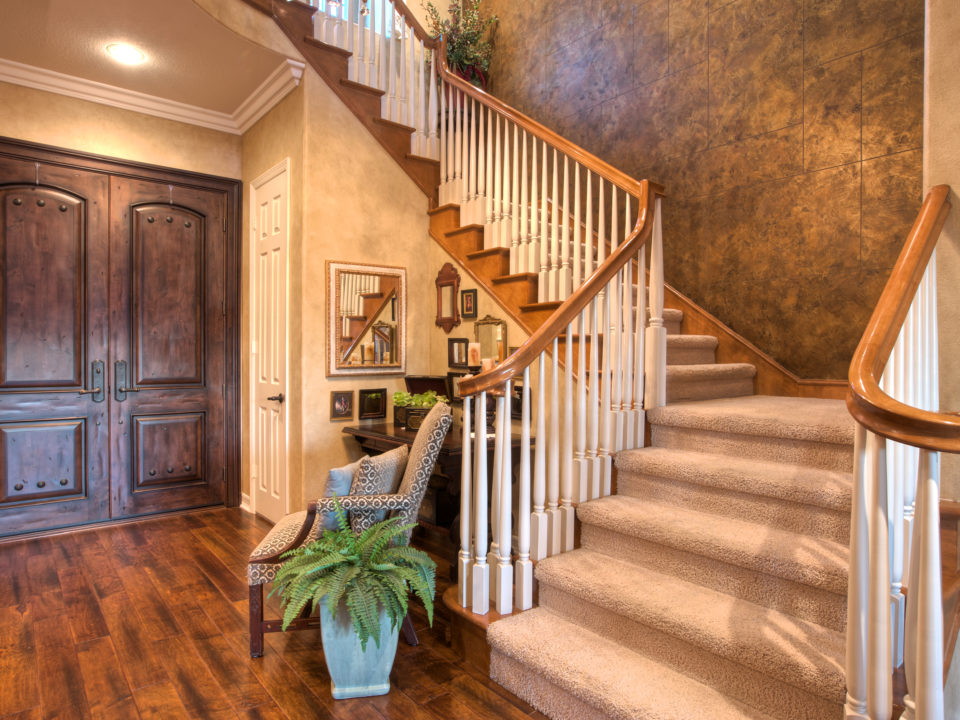
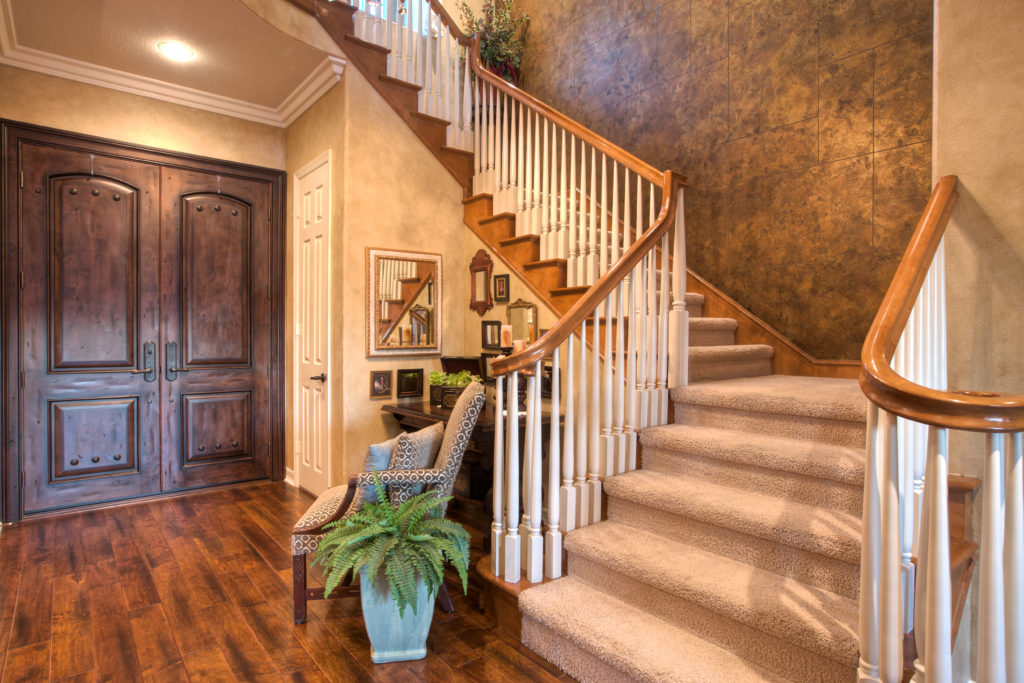
Our project here was to refinish a mirror frame. This was a rather straightforward project. Simple beauty, not too many layers.
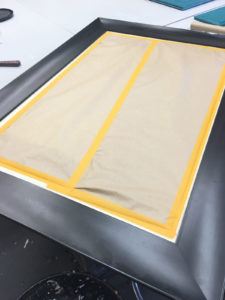
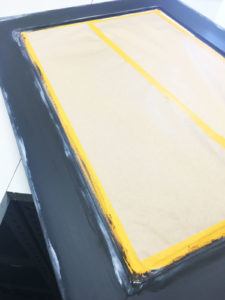
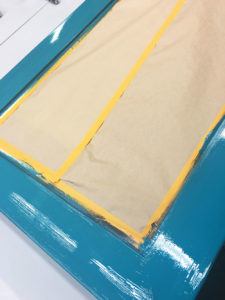
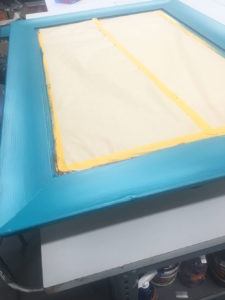
I taped and papered the inset mirror to protect it from any splatters. I also painted the tape lines along the edge of the frame so that as I add the remaining layers of paint and glaze, it won’t bleed underneath the tape and require touch-ups.
My go-to product for this application is SetCoat Clear® because, well, it’s clear. That means that if I am putting a clear paint over a tape line, whatever *may* bleed underneath will be clear. This can be a huge time and money saver on a job. Let me paint a picture for you—no pun intended. Well, maybe, yes. Let’s imagine you just painted or plastered or “whatevered” a wall. Let’s also imagine it’s a bright blue wall. Or pick your color. You worked hard to get this thing done, you are soooooo excited to pull all the tape for the big reveal for you and your client. But then, to your dismay and possibly horror, you have a rigid, uneven, runny paint line along the edge of the door, ceiling, cabinet—you name it. What do you do now?! This can be a nightmare to repair. So many factors to consider and quite frankly—to avoid.
Firstly, the reason of not having your customers existing wall color on adjoining walls or even trim and moulding paint colors to even do the touch up. These colors may be original to the house and unless you want to spend time trying to match the color (sometimes that works…and sometimes it doesn’t), this will only eat into your profit margin. Secondly, like I just said—the profit margin. If you don’t factor in touch-up work into your bid, and you have to actually do that at the end of the job, that means that all those touch-ups were done for free. Unless you are a gracious and generous person and don’t mind working for free, you should consider that factor. There are so many more beneficial ways of donating your time, but that’s for another blog.
Lastly, if you “have” to touch up the edges, what happens if you get the adjoining wall color on your plaster or finish? Will you be able to wipe away without a trace? Will it cause a touch up of your touch up? You see where I’m going with this? Madness. Just seal your tape. BOOM.
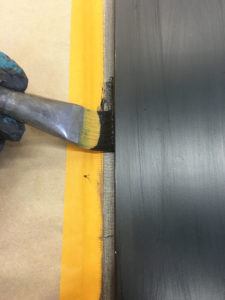
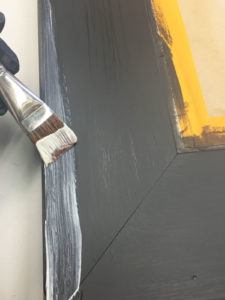
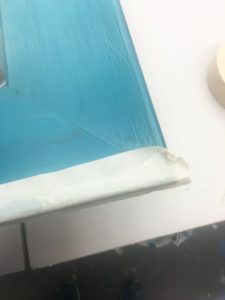
If you simply take a small artist or chip brush and literally paint the tape line that connects the edge of the surface to be painted, you have a much lower chance of any of those boo-boos happening.
Without complicating the process here, the other option is to paint the tape line with whatever color is underneath. We have black here, so we used Black SetCoat®.
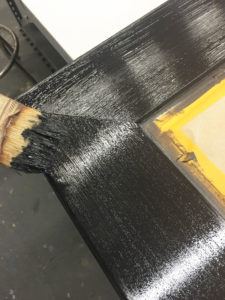
Always SetCoat®. It bonds to pretty much everything that is clean and free of dirt and debris.
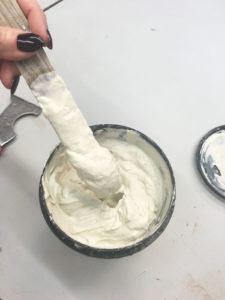
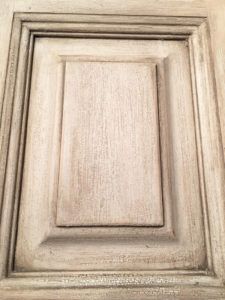
After the paint dries, we are ready for some fun. You can see the creamy texture here. I’m just using a soft artist brush and brushing a light coat along the edges—which is where I want the distressed effect to show. Wherever you want to reveal the paint color underneath is where you apply the Crème Activator™. Just brush on a thin, even coat and let dry. You’ll especially want to do a thinner coat over a dark color and it does dry light when it’s thick. But if you get any too thick you can wash it back with a damp rag later.
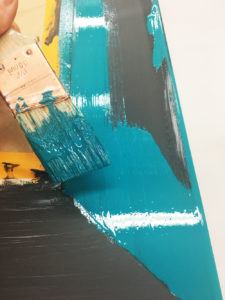
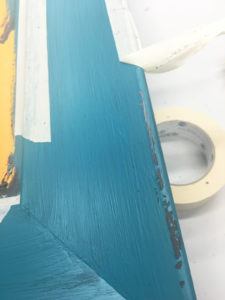
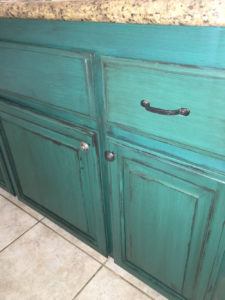
Now that the Crème Activator™ is dry, I’m ready for my next paint color. The client chose a deep, vibrant teal. I love this color!! I brushed this paint on with a chip brush, making sure to keep the joints clean and precise. Let this dry.
Take some masking tape. Not the delicate blue. You need big guns for this. High tack. Lay the tape along the edge or wherever you painted the Crème Activator™. Press firmly onto the surface to make good contact.
ARE YOU READY?! 😀
This is by far one of the most rewarding processes to do. I really don’t know why. There’s just something about peeling back paint ON PURPOSE that makes my soul come alive. Instant Gratification in 3…2…1….
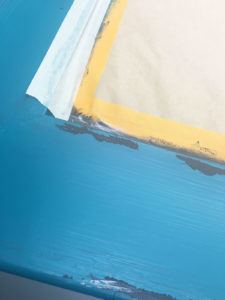
So lift off the tape. You can try do it fast like a band-aid or slow. Just experiment with what works. I’ve even just put the tape on and let it sit for 10-30 min just to make a good bond with the paint. If some areas don’t pull the way you want, just keep trying. Use more pressure or just let it sit longer. You can also use a damp scotchbrite to wash back.
The great thing about this is that if you take too much off, you can come back with your top paint color to fill in. Do this until you are content with the outcome.
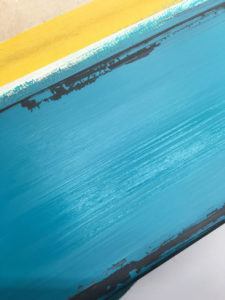
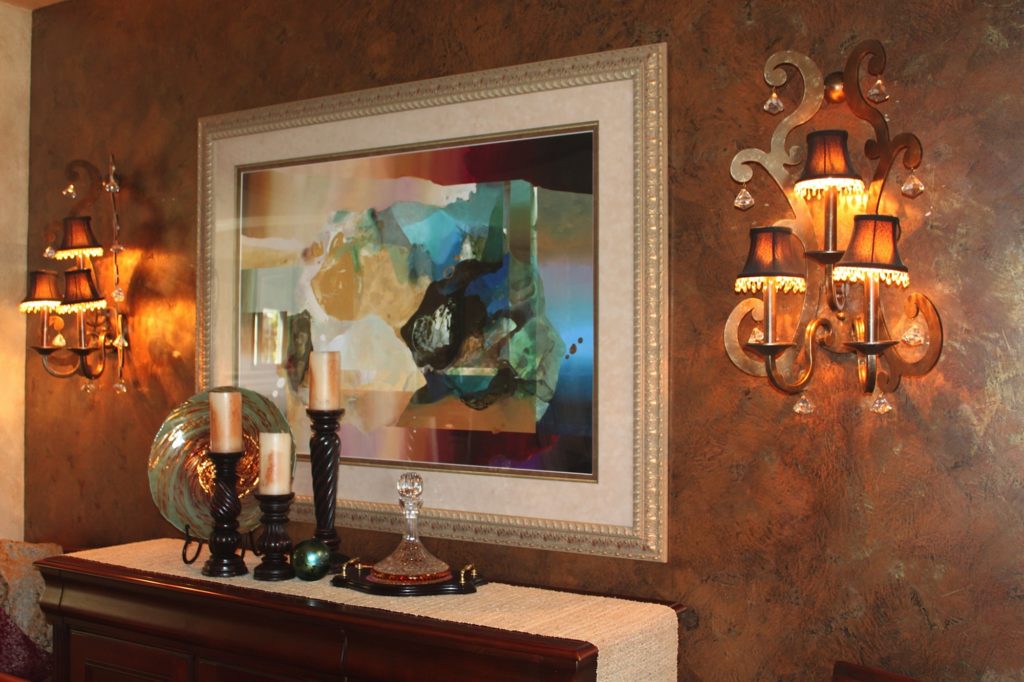
I’m happy with the outcome now. This is a big mirror with a large frame, so I wanted more of the black coming through. Now I’m ready to glaze.
So, this is a moment that I will admit my flaws when it comes to being creative. No truer statement has been said than your greatest strength is your greatest weakness. I get way too excited to start projects that I forget to get out of my head. You see, I got so excited to show you the final finish that I didn’t get photos me glazing the frame. I know. You’d think I’d learn by now.
Anyhow, maybe this is a lesson in visualization. I used Stain and Seal™ in American Walnut with AquaCreme™. I applied a very sheer layer of glaze, I just wanted to tone the color to blend the black and the teal and make it feel “finished”. Glaze really does that for all finishes. It marries all the layers and makes it feel complete.
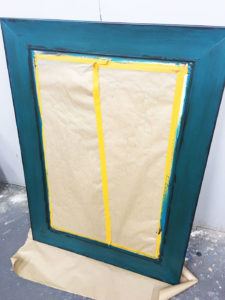
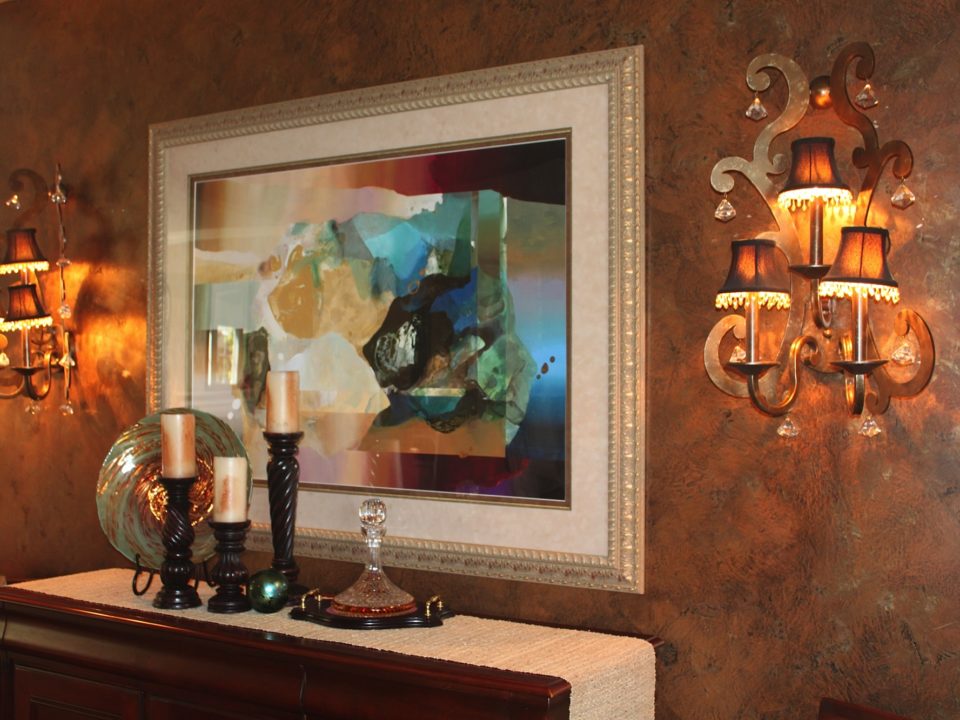
This is a pic of the glaze done. You can see it’s not much different, just a deeper, warmer tone. This finish was also done on a kitchen island, which is going to anchor the space and add a pop of color. Once the new décor comes in, it will tie it all together. How can you not be happy seeing this color?
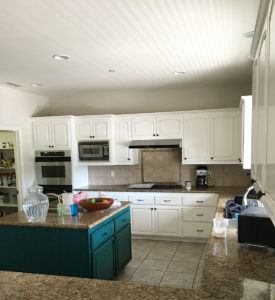
This is also another finish we teach using Crème Activator™.
So, what would you use Crème Activator™ for? We’d love to hear from all of you. Send us your pics and we will feature your work. Email us at [email protected]
Till next time friends, happy painting!